We have all been there. You pour hours into a beautiful moodboard, a carefully curated collection of stunning visuals, only for the client to say, “It’s nice, but it’s not quite us.” That feeling of disconnect often stems from a simple truth: the board was beautiful, but it wasn't built on a solid strategy. A successful client presentation moodboard isn't just a collage, it's a visual argument. It tells a story, answers questions before they are asked, and guides the client toward a confident decision. The secret isn't finding more images, it's building a system that makes your inspiration intelligent. In 2026, the best moodboards are not just seen, they are searched.
Start with Strategy, Not Just Style
Before you save a single image, the most important work happens away from the screen. A moodboard that misses the mark usually fails because the strategic foundation was soft. This initial thinking is what separates a collection of pretty pictures from a powerful communication tool. You need to translate your client's words into a clear visual direction.
Deconstruct the Client Brief for Visual Cues
Look past the literal requests in the client brief to find the emotional goals. When a client says they want a "clean" design, do they mean spacious and organized, or do they mean a stark, minimalist aesthetic? These words carry different visual weights. Analyse their brand values and adjectives to build a conceptual vocabulary that will guide your search. Is their brand playful, authoritative, or comforting? Each of those words points to different shapes, colours, and compositions.
Establish a Core Theme and Keywords
Once you understand the emotional core, distill it into a powerful, two-word theme. This becomes your creative north star. A theme like "Grounded Futurism" suggests a blend of natural textures with clean, technological lines. "Playful Professionalism" points toward a balance of structured layouts with vibrant, unexpected colours. From this theme, derive a short list of primary keywords that will become the backbone of your searchable library.
- Grounded Futurism
- Organic Textures
- Clean Typography
- Monochromatic Palette
- Architectural Grids
- Subtle Gradients
Define the Narrative Arc of the Presentation
A great moodboard tells a story with a beginning, a middle, and an end. Planning this narrative arc beforehand makes your final presentation far more persuasive. Structure your board to first introduce the big idea and overall feeling. Then, present the core components like colour, typography, and imagery. Finally, show how these elements could apply to the user experience. This structure transforms your moodboard from a static image into a guided journey.
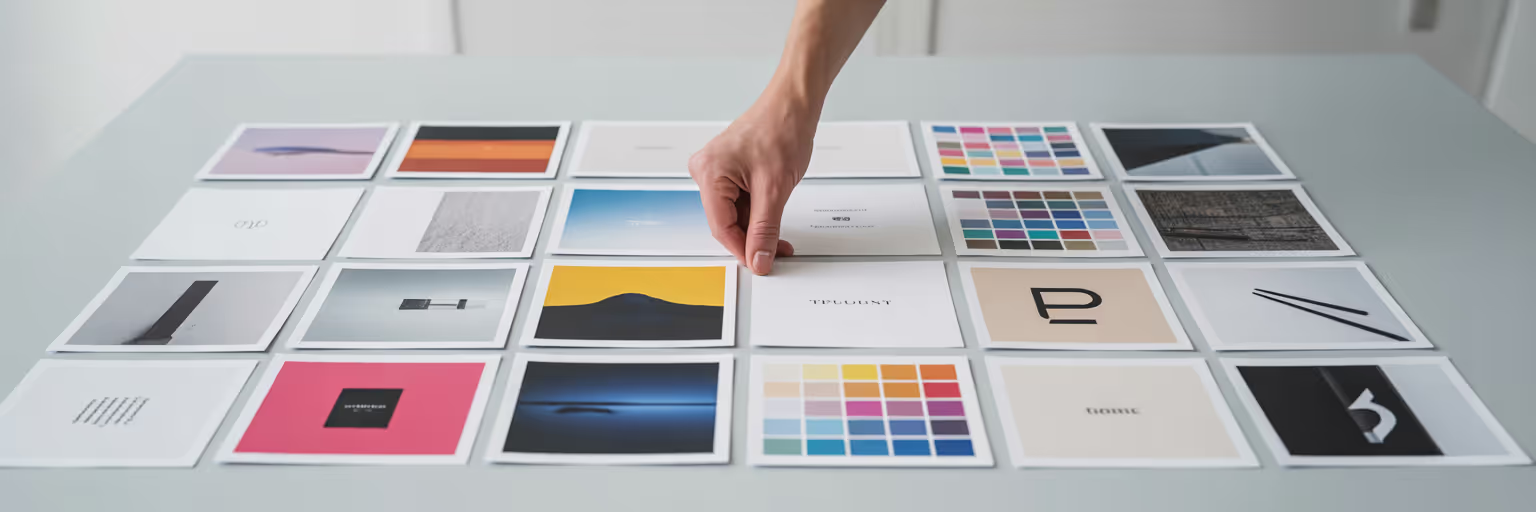
Build Your Visual Library with Precision

With a clear strategy in place, you can begin the gathering phase. The goal here is not to collect everything, but to build a high-quality, diverse library with intention and efficiency. This is where you become a ruthless curator, choosing each piece of inspiration for its specific contribution to the story you plan to tell.
Prioritize Quality and Relevance Over Quantity
Resist the urge to perform a broad Google Image search and call it a day. Instead, seek out conceptually strong, high-resolution assets from more focused sources. Dive into niche design blogs, explore specific collections on Behance, and use high-quality stock sites for polished photography. Every asset you save should directly relate to one of your strategic keywords. Ask yourself: does this image reinforce "Grounded Futurism," or is it just a cool picture? If it doesn't fit the narrative, leave it behind.
Use a Visual Bookmark Manager for Efficient Collection
This is where design moodboard tools become essential to your process. Instead of letting inspiration get lost in a sea of open tabs or a cluttered downloads folder, a visual bookmark manager lets you save images and websites with a single click. With a tool like the one we've built at Bookmarkify, you can create a central, searchable library without interrupting your flow. This is the first practical step to organize design inspiration effectively, ensuring nothing valuable gets lost.
Capture More Than Just Images
A rich moodboard is about more than just photos. Broaden your collection to include a variety of elements that will bring the client's brand to life. This multi-faceted approach provides a much deeper and more useful pool of visual inspiration for clients.
- Typography examples from live websites to show fonts in context.
- Colour palettes with specific hex codes for accuracy.
- Textures and patterns that evoke the desired tactile feel.
- UI animations or motion examples saved as GIFs or video links.
- Short quotes or copy snippets that capture the brand's tone of voice.
The Art of Smart Organization and Tagging
You have collected your assets, now it is time to bring order to the creative chaos. This section delivers on the promise to create searchable moodboard assets. Collection is about gathering possibilities, but organization is about taking control. A smart system for tagging and describing your inspiration is what transforms a folder of images into a powerful, queryable database.
Develop a Consistent Tagging System
A good tagging system is the engine of a searchable moodboard. Start with a simple, hierarchical method that allows you to filter your library with precision. Combine broad category tags with specific descriptors and project-specific tags. This consistency is what allows you to instantly find exactly what you need, when you need it.
| Broad Category Tag | Specific Descriptor Tag | Project-Specific Tag |
|---|
| #layout | #grid-system | #dashboard-view |
| #typography | #serif | #heading-style |
| #color | #monochromatic | #primary-blue |
| #imagery | #photography | #lifestyle-hero |
| #ui-element | #button | #cta-hover-state |
This table illustrates a scalable tagging system. Combining broad categories with specific descriptors allows you to filter your library from thousands of items to a handful of relevant examples in seconds.
Use Descriptions to Add Searchable Context
Tags tell you what something is, but a description explains why you chose it. This context is invaluable. For every bookmark you save, add a short note explaining its relevance. A simple description like, “This button’s hover state feels responsive and satisfying,” provides searchable context that a tag alone cannot. This level of detail is crucial. For larger teams managing extensive digital assets, some even use tracking technologies to understand how visuals are used across projects. As Autonix highlights with its asset tracking features, knowing the context of an asset is as important as the asset itself.
Create Curated Collections for Different Concepts
Within your larger project library, create smaller, focused collections or boards. This allows you to explore slightly different creative directions or A/B test concepts with a client. For example, you might have one collection for a "Light & Airy" direction and another for a "Bold & Contrasted" one. This keeps feedback organized and makes your creative process more agile. This approach is one of many creative workflow tips we explore on our blog.
Assembling the Moodboard for Visual Storytelling

With a library of high-quality, strategically tagged assets, you are ready to build the final board. This stage is about composition and visual storytelling. You are no longer just organizing, you are arranging your curated assets into a persuasive narrative that will guide your client through your creative vision with clarity and purpose.
Choose the Right Layout to Guide the Narrative
The layout of your moodboard is not arbitrary, it shapes the story. A tight, organized grid can communicate consistency, structure, and volume. A more freeform, overlapping layout can highlight connections between disparate ideas and create a more organic feeling. Many modern tools offer multiple view modes to support this flexibility, allowing you to choose the layout that best serves the narrative you planned in the beginning. A well-composed board can make all the difference. For some great visual inspiration for clients, you can explore the curated examples in our inspiration gallery.
Arrange Elements to Create Visual Connections
Go beyond simply placing images on a canvas. Think like a curator arranging an exhibit. Group elements by colour to show how the palette works together. Use scale to create a clear hierarchy, making certain "hero" images the focal point. Create visual pathways with your arrangement that guide the client's eye from one idea to the next in a logical sequence. The goal is a cohesive composition that feels intentional, not random.
Use Annotations to Clarify Your Vision
Never assume an image speaks for itself. Use short, clear text annotations directly on the moodboard to explain your choices and connect them back to the project goals. A simple note like, "This font feels approachable yet professional," turns a passive viewing experience into an active conversation. Conclude your board with a "Key Elements" summary that distills the entire presentation into its core components: the final colour palette, key typefaces, and three to five hero images that define the direction.
Presenting Your Moodboard with Confidence
The final step is the client presentation itself. All the strategic work you have done—the deconstruction, collection, and organization—now pays off. Your goal is not just to show the board, but to leverage the searchable system you built to facilitate a collaborative and productive conversation that ends in clear, confident approval.
Walk Them Through the Story, Not Just Show the Board
Begin the presentation by restating the project goals you identified from the brief. This anchors the entire conversation in strategy. Then, guide the client through the narrative arc you planned, explaining the "why" behind each section of the moodboard. Proactively connect your visual choices back to their brand values and desired emotional outcomes. This shows them you didn't just find pretty pictures, you solved their problem visually.
Leverage Searchability to Answer Questions in Real-Time
This is your superpower moment. When a client inevitably asks, "I like this, but do you have any warmer colour options?" you don't have to say, "Let me get back to you." Instead, you can use your tagged library to instantly filter your collection and show them curated alternatives on the spot. This demonstrates deep preparation and makes the client feel heard and involved. According to a guide from the collaborative platform Miro, making moodboards interactive is key to engagement, and this real-time flexibility is the ultimate form of interaction.
Focus on Gathering Directional Feedback
The purpose of a moodboard presentation is to confirm the overall direction, not to get a final verdict on every single image. Use open-ended questions to guide the conversation. Ask things like, "Does this direction feel aligned with your brand’s personality?" or "Which of these two typographic styles feels more approachable to you?" This keeps the feedback constructive and high-level. Finally, you can share a link to the final collection using a feature like Bookmarkify's collaboration tools, allowing the client to review and comment on their own time.