We’ve all felt it. That sinking feeling when a client says, “It’s not quite what I had in mind.” A single round of revisions due to a vision mismatch can cost a freelance designer hours of unpaid work and drain creative momentum. This isn't a failure of talent; it's a communication gap. The good news is that it's a gap you can bridge before you even draw a single pixel. Ready to turn design chaos into a streamlined, searchable inspiration library? Start building your first collection with Bookmarkify today.
Why Visual Alignment Is Your Key to Faster Approvals
A client presentation mood board is far more than a collage of pretty images. It's a strategic communication tool designed to align expectations and build trust before the heavy design work begins. Its primary job is to prevent costly misunderstandings and secure faster creative project approval. When you present a mood board, you’re not just showing pictures; you’re testing a hypothesis about the project's visual direction.
Think about the psychology at play. A mood board invites the client into your creative process, transforming them from a passive judge into an active collaborator. They become emotionally invested in the direction because they helped shape it. This simple shift is powerful. It changes the conversation from "I don't like it" to "This part feels right, but can we explore more of that 'energetic' vibe we talked about?"
By getting on the same visual page early, you build a foundation of shared understanding. This article will guide you through creating and presenting a mood board that does exactly that, ensuring everyone is excited and aligned from the very start.
Laying the Groundwork Before You Collect a Single Image
A winning mood board is built on strategy, not just spontaneous inspiration. The real work happens before you save a single image. This prep phase is about translating abstract client feedback into a concrete visual plan, ensuring every piece of inspiration you gather serves a clear purpose.
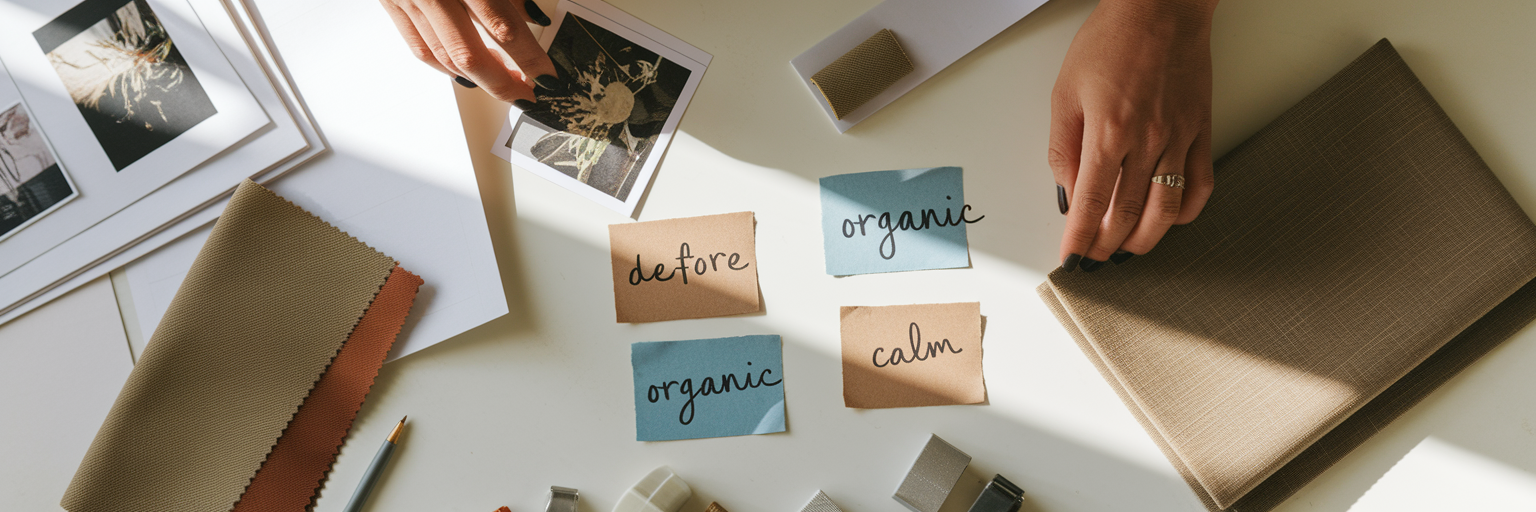
Translate the Brief into Visual Keywords
Start by distilling the client’s brief into a core set of actionable words. Is the brand “playful” or “sophisticated”? “Minimal” or “abundant”? “Organic” or “geometric”? These keywords become your vocabulary for the project. Having this shared language prevents subjective feedback later on and gives you a filter for your inspiration search.
Define the Project's Emotional Goal
Move the conversation beyond what the client likes and focus on how the end-user should feel. Instead of asking, “Do you like the color blue?” ask, “Should this design make the user feel calm and secure, or excited and motivated?” Framing design choices around objective emotional goals makes the feedback process more constructive and less about personal taste.
Write a Guiding Vision Statement
Now, synthesize those keywords and emotional goals into a short, guiding paragraph. This statement is your project's north star. For example: “This design will feel energetic and optimistic, using bold typography and a vibrant color palette to inspire users to take action with confidence.” As Blade Ronner Media notes in their guide, a clear written foundation is essential before visual exploration begins. You can find more insights on how to write creative briefs and mood boards that thrill your clients. Remember to also gather existing assets like logos and brand colors to show you're building on the client's foundation, not starting from scratch.
Curating Inspiration from Chaos to a Cohesive Collection
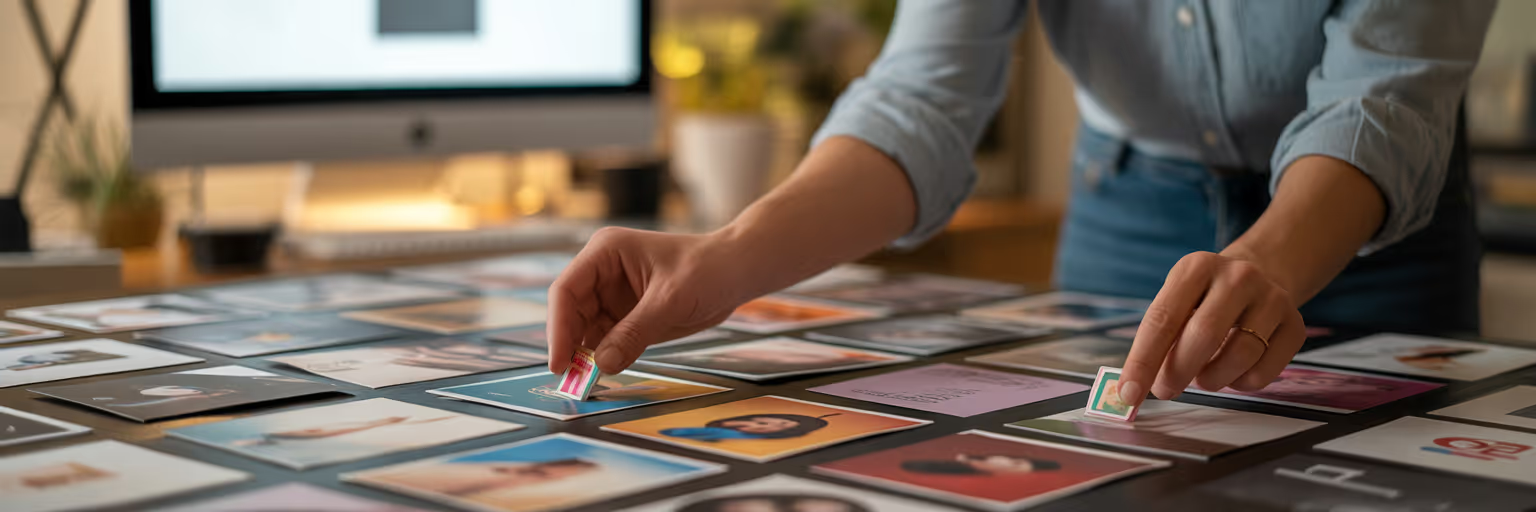
Every creative knows the feeling of "inspiration overload." You have 42 open tabs, a desktop littered with random screenshots, and a vague memory of a perfect reference you saw last week. This digital mess slows you down. The solution isn't to stop collecting, but to adopt a streamlined workflow for gathering visual inspiration for designers.
This is where a web clipper, like the Bookmarkify Chrome extension, becomes your best friend. Instead of letting ideas scatter, you can instantly save websites, images, and videos into one central, organized space. The real power move here is tagging as you go. Use the visual keywords you defined earlier as tags: #typography, #colorpalette, #layout, #photography. This simple habit makes filtering and finding exactly what you need later almost effortless.
To build a rich collection, look beyond the usual platforms. Here are a few places to find high-quality inspiration:
- Niche design blogs and online magazines
- Award sites like Awwwards or The FWA
- Film cinematography for mood and color palettes
- Architectural photography for composition and structure
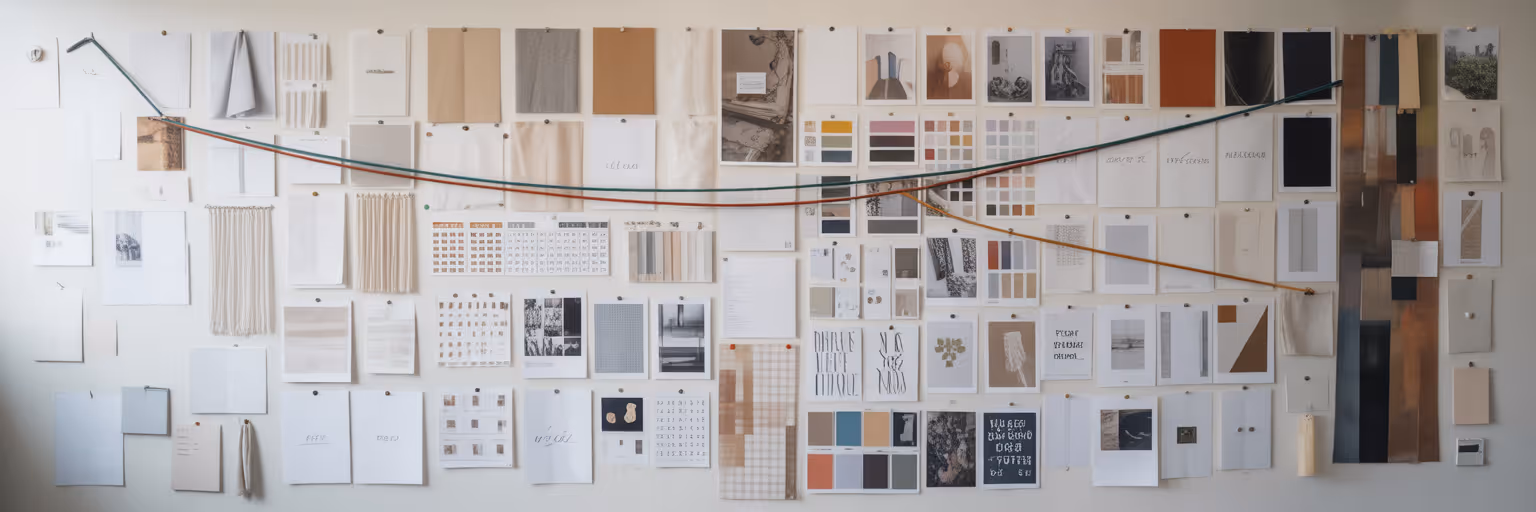
A great mood board shows variety within a theme. It’s not just a grid of websites. It includes textures, real-world photography, and typography to build a rich sensory world. With a tool like Bookmarkify, you can save all these different media types in a single collection. For a daily dose of curated ideas, you can also explore our Daily Inspiration feed, which delivers fresh websites and apps every day.
Arranging Your Mood Board to Tell a Compelling Story

Once you've gathered your inspiration, the next step is to arrange it with intent. The layout of your client presentation mood board is just as important as its contents. A thoughtful arrangement guides the client's eye and tells a clear story, turning a collection of images into a cohesive vision.
This is where a tool like Bookmarkify’s Moodboard View shines. Its flexible grid allows you to create a clear visual hierarchy. A practical tip is to place a "hero" image or core concept at the center and arrange supporting elements around it. Group similar items together—a cluster for typography, another for color palettes, and a section for photography style. This makes the board digestible and easy to follow.
Don't forget the strategic use of white space. A cluttered board feels chaotic and overwhelming. Intentional space, like in a well-curated art gallery, helps the client focus on each component. To help structure your narrative, use this checklist:
| Element |
Purpose in the Story |
Example |
| Hero Image |
Establishes the primary mood and core concept. |
A single, powerful photo that captures the 'energetic' feel. |
| Color Palette |
Sets the emotional tone and brand personality. |
A swatch of 3-5 vibrant, complementary colors. |
| Typography Samples |
Defines the voice and readability. |
One serif for headlines, one sans-serif for body text. |
| Texture/Pattern |
Adds depth and a tactile feel. |
An image of brushed metal or natural wood grain. |
| Interaction Snippet |
Shows how the design might feel in motion. |
A short video of a smooth, fluid animation. |
Note: This checklist helps ensure each part of your mood board serves a specific narrative purpose, guiding the client through your vision logically.
Presenting Your Vision to Get an Enthusiastic 'Yes'
The presentation meeting isn't a test; it's a confident, guided tour where you are the expert. Your goal is to connect your visual choices back to the shared project goals, making the client feel heard and understood. Here are some mood board presentation tips for a successful meeting and a confident "yes."
- Start with the 'Why'. Before showing a single image, revisit the project goals and the vision statement you created together. This simple step reminds the client of the shared objective and frames your mood board as the solution you built for them.
- Narrate Your Choices. Don't just show the images; explain their purpose. Instead of saying, “Here are some photos,” say, “To achieve that 'calm and secure' feeling we discussed, I've selected images with soft lighting and a muted color palette, like this one here.”
- Proactively Set Boundaries. Use the mood board to explain what you intentionally excluded and why. For example, “You'll notice we've avoided sharp angles and high-contrast colors to maintain the tranquil atmosphere.” This prevents off-track suggestions and shows strategic thinking.
- Manage Expectations. Clarify that the mood board is for directional alignment—vibe, tone, style—not a literal blueprint for the final design. This prevents clients from getting fixated on a single image and gives you creative freedom. As explained in tutorials on how to present a mood board to a client, the goal is to sell the concept, not the individual components.
By following these steps, you lead a collaborative discussion, not a critique. For more ideas on improving your creative workflow, you can explore other articles on our blog.
From Feedback to Final Approval

The final step is turning feedback into forward momentum. A well-presented mood board makes this process smooth and constructive. Your goal is to guide the client's feedback so it remains tethered to the project goals. Encourage them to ask, “Does this feel ‘energetic’ enough?” rather than making subjective statements like, “I just don’t like orange.”
Digital tools offer a huge advantage here. With Bookmarkify, you can share an entire collection with a single URL. This allows clients to review the vision on their own time and leave comments asynchronously, respecting their schedule while giving them space to process. This is how to use moodboard for clients in a modern, flexible way.
If a client is hesitant about a direction, your organized collection allows for incredible agility. Instead of starting over, you can simply filter your tagged bookmarks. For instance, you could filter by the #calm tag instead of #energetic to present an alternative vibe in minutes. This demonstrates responsiveness without requiring a full redesign.
Stop the cycle of endless revisions and start your next project with the confidence that comes from clear visual alignment. Build your next client presentation mood board with a tool designed to streamline the entire workflow. Try Bookmarkify for free and see how it transforms your creative process.