From Scattered Tabs to a Cohesive Vision
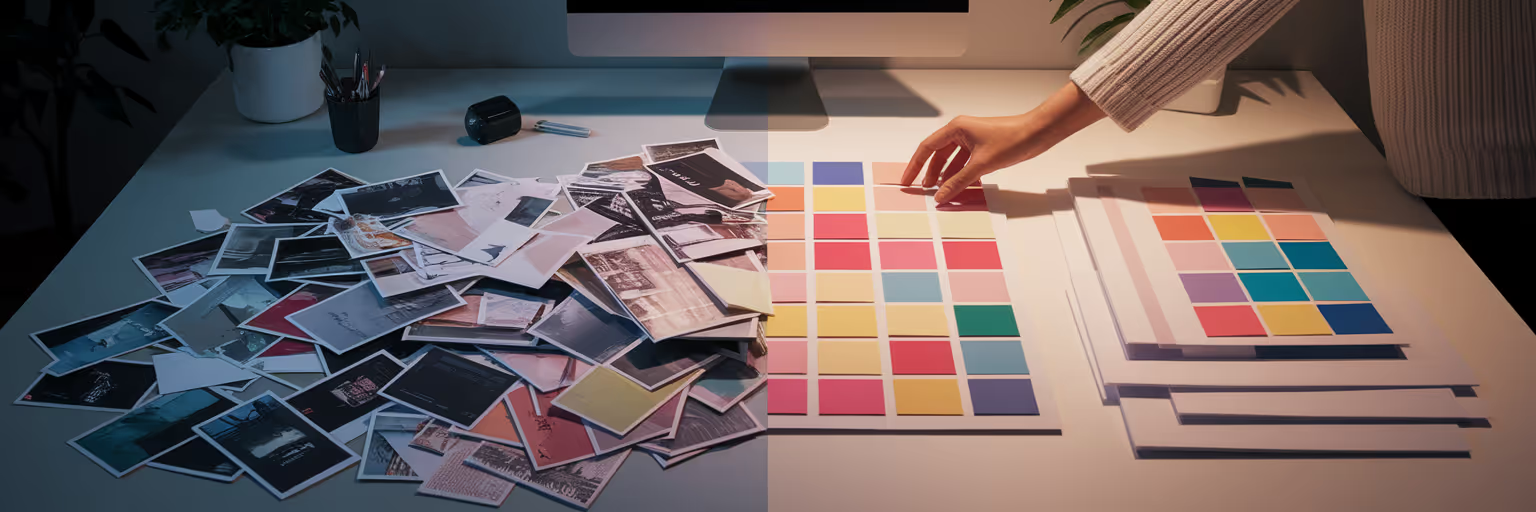
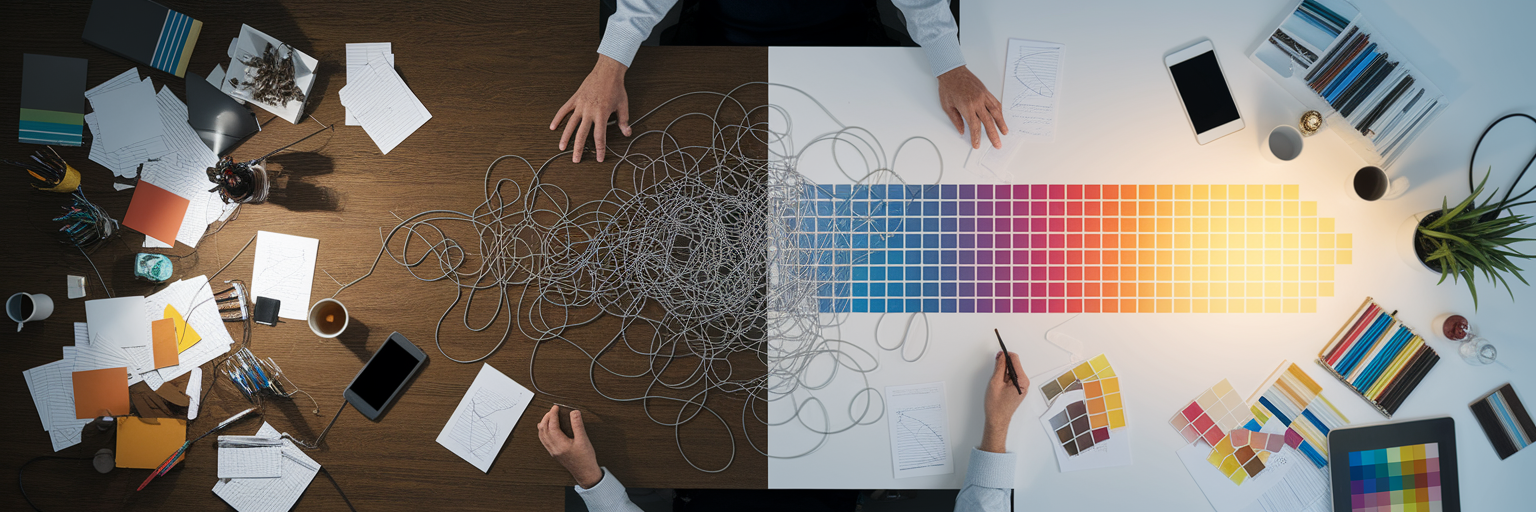
We have all been there. The screen is a mosaic of 40+ open tabs, the desktop is a graveyard of random screenshots, and that one perfect link you saw last week is lost forever in your browser history. This common 'design mess' is the primary obstacle standing between a great idea and a successful project.
This disorganization is not just a personal frustration; it directly impacts your professional output. It slows down the creative process, muddies the core message, and makes it nearly impossible to present a clear, confident vision to clients. This is where strategic visual bookmarking techniques come into play.
This is not about mere saving, but a deliberate workflow designed to build compelling, client-ready moodboards from the very first click. This guide will walk you through the exact methods needed to transform that chaos into a streamlined system that produces moodboards that get approved, fast. With the right approach, you can end the creative clutter for good.
Define Your Direction Before You Collect
Before you save a single image, pause. The most effective moodboards start with a clear strategy, moving you from reactive gathering to proactive curation. Start by asking clarifying questions to establish the moodboard's primary goal. Are you defining a new brand's entire aesthetic, guiding a website redesign, or planning a social media campaign?
This process involves translating abstract client feedback into a concrete, searchable visual language. Here is a practical example:
- Client says: 'Modern and trustworthy.'
- You translate to: 'sans-serif typography,' 'cool or neutral color palettes,' 'minimalist layouts,' 'generous white space,' and 'clear information hierarchy.'
This foundational step prevents a 'directionless' moodboard. A clear objective acts as a filter, ensuring every bookmarked item is relevant and purposeful. As noted by The Pattern Cloud, beginning with clarity on what you want your moodboard to accomplish is the first and most crucial step.
This transforms the moodboard from a collection of pretty pictures into a strategic document. It justifies your design choices and connects creativity directly to the client's business objectives, saving you significant time and revisions later.
Master the Art of Curated Inspiration Gathering

Now for the fun part: gathering inspiration. But let's think beyond the usual suspects. Look for inspiration in unexpected places. Bookmark a color palette from a Wes Anderson film, a texture from brutalist architecture, or a grid layout from a vintage print magazine. This cross-disciplinary approach is what sparks truly unique concepts.
While you are collecting, remember the critical limitation of static screenshots. A screenshot misses the full story. It cannot capture the hover states, the micro-interactions, or the responsive behavior of a website. This is where the right design inspiration tools make a difference. A tool like Bookmarkify lets you save and analyze live websites, capturing the entire interactive experience instead of just a flat image.
Picture the old workflow: juggling Pinterest, a notes app, and desktop folders. Now, imagine a single, centralized hub where every piece of inspiration lives. You can also cultivate 'passive inspiration.' Instead of always actively searching, let ideas come to you. Features like our Daily Inspiration feed deliver fresh websites, apps, and job opportunities every day. This keeps your creative well full and helps prevent the dreaded burnout.
Turn Your Collection into a Searchable Library
A massive collection of bookmarks is useless if you cannot find what you need when you need it. The goal is to turn that digital pile into a searchable, personal library. The key to findability is a robust tagging system. It is the difference between a messy drawer and a perfectly organized toolbox.
Here is a practical framework to get you started:
| Tag Category |
Example Tags |
Purpose |
| Project |
#ProjectAlpha, #ClientX-Redesign |
Group all inspiration for a specific client or project. |
| Design Element |
#navigation, #forms, #buttons, #typography |
Quickly find examples of specific UI components. |
| Aesthetic Style |
#brutalist, #organic, #minimalist, #retro |
Filter by visual style or mood. |
| Color |
#blue-palette, #monochromatic, #warm-tones |
Search for inspiration based on color schemes. |
| Source Type |
#website, #article, #video, #image |
Categorize the format of the saved content. |
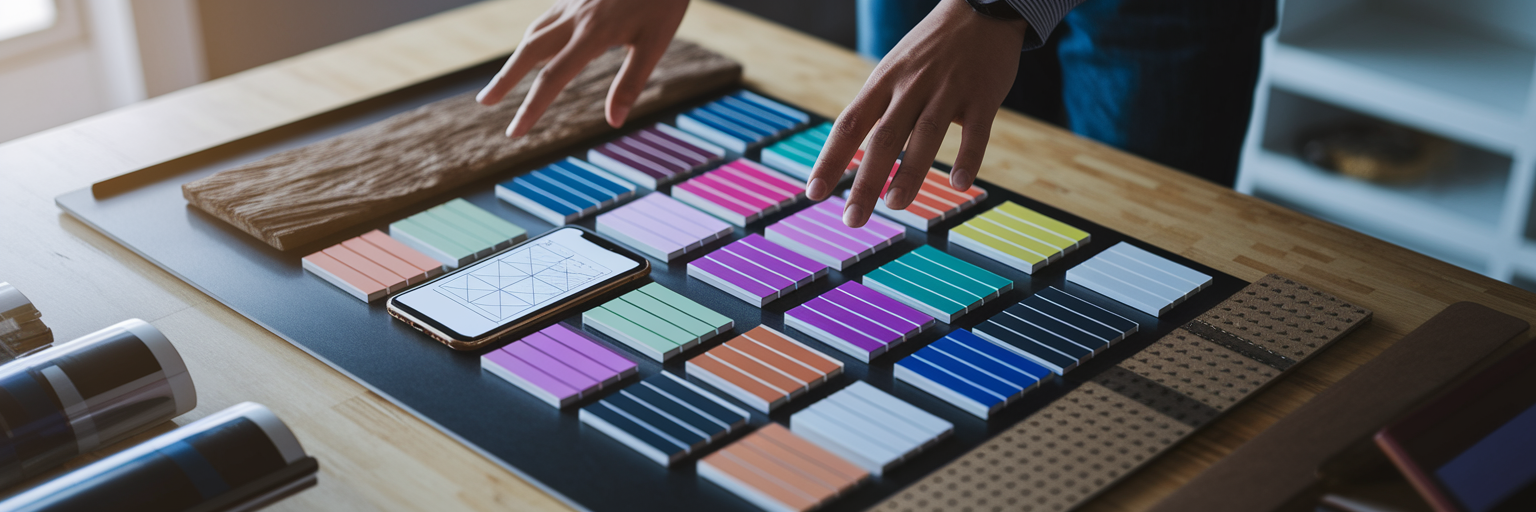
Beyond tags, group your bookmarks into thematic collections. For instance, create distinct concepts like 'Direction A: Bold & Energetic' versus 'Direction B: Calm & Minimal.' This prepares you to present clear options to your client. Different viewing modes can also unlock new insights. A grid view is great for spotting patterns, while a moodboard view, like the one in Bookmarkify, helps you assess the aesthetic harmony between different elements.
Make it a habit to spend 15 minutes each week reviewing your recent bookmarks. Add tags and sort them into collections. This small ritual prevents the digital mess from ever returning. For more ideas on staying organized, you can explore other workflows on our blog.
Assemble Your Story-Driven Moodboard

With your inspiration neatly organized, this stage is about composition and storytelling, not frantic searching. You have already done the hard work of curation. A great moodboard needs a strong visual hierarchy. It should not be a random collage. Use one or two large 'hero' images to set the primary theme, supported by smaller images for details like typography, color, and texture.
This is a crucial step in learning how to create a moodboard that sells an idea. Add short, clear annotations to every key visual. Explain why it was chosen and how it connects to the project goals. For example: "This button style is highly accessible and reinforces the modern aesthetic."
Digital moodboards offer incredible flexibility. As Arts & Crafts WonderHowTo highlights, a digital tool like Canva allows you to create a shareable guide in minutes. You can easily duplicate a board to iterate on concepts or tailor a presentation for different stakeholders, a key advantage over static, physical boards.
Present Your Vision for Client Buy-In
The final step is presenting your moodboard to get that enthusiastic "yes!" from your client. Frame your presentation as a compelling story. Start by recapping the client's goals, then walk them through the moodboard, explaining how each visual choice contributes to that narrative.
Presenting two distinct, well-reasoned visual directions is a powerful strategy. It empowers the client to make a choice and accelerates the approval process. Explicitly connect every visual element back to a project objective. This shifts the conversation from subjective taste ("I do not like that color") to objective goals ("Does this color convey the trust we need?").
To truly resonate, the presentation must create an emotional connection, a principle that applies to all digital experiences designed to drive engagement. Here are a few practical moodboard presentation tips for guiding the feedback session:
- Ask targeted questions like, 'Which of these directions feels more aligned with your target audience?' instead of the vague, 'What do you think?'
- Listen for the 'why' behind feedback, not just the 'what.'
- Set clear next steps before the meeting ends.
You now have the techniques to build better moodboards. It is time to put them into practice. Stop the tab-juggling and start building a professional inspiration library today with a tool designed for creatives. Try Bookmarkify to see the difference a streamlined workflow can make.

