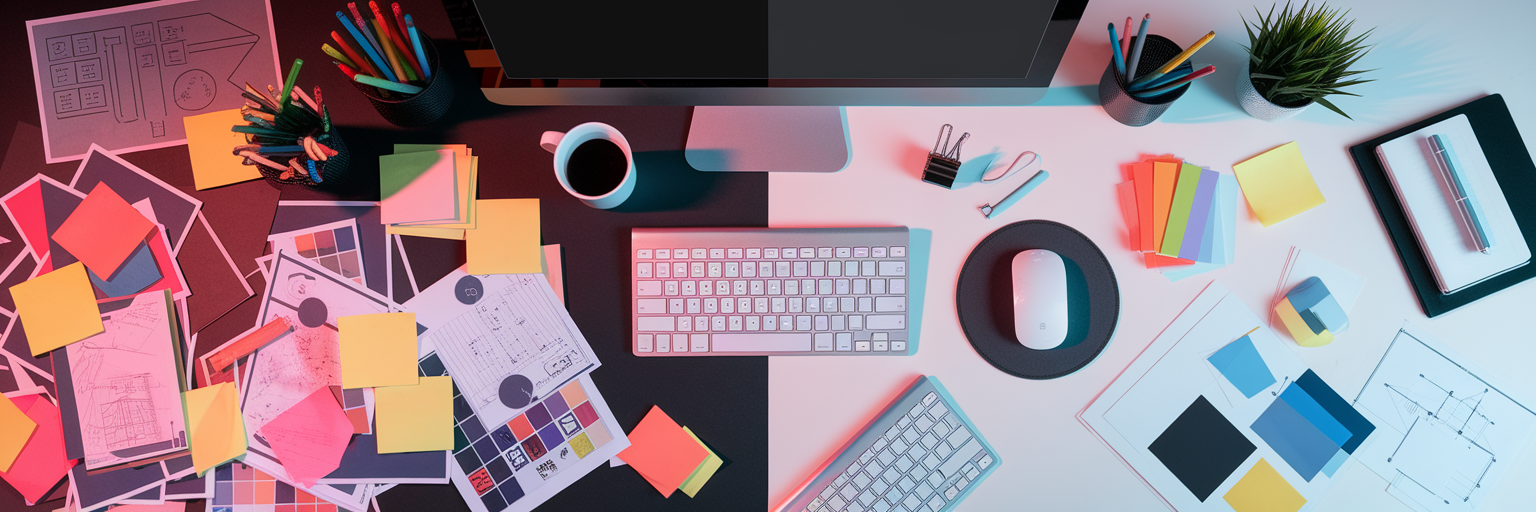
From Creative Chaos to Streamlined Building
We’ve all been there: a brilliant design concept is polished and ready in Figma, but a looming deadline makes the Webflow build feel like a race against time. That friction between a creative vision and its technical execution is a common hurdle for designers. Webflow is the industry-standard tool for bringing ambitious designs to life without writing code, but its sheer power can create bottlenecks if you don’t have a smart process.
This isn’t about working harder or cutting creative corners. It’s about reclaiming your time and energy. This article shares practical Webflow workflow hacks that help you build smarter, not just faster. We will cover a complete system for streamlining your projects, from leveraging templates and plugins to mastering inspiration management. Let's turn that feeling of being overwhelmed into a feeling of control.
Start Projects Smarter with Webflow Templates
Many designers cringe at the word "template," associating it with generic, cookie-cutter websites. But what if you viewed a template not as a finished product, but as a strategic starting point? A high-quality Webflow template provides a fully responsive, pre-built foundation. This alone can save you hours of foundational work on grids, navigation, and basic page structures.
The key is choosing the right one from the Webflow Marketplace. Look beyond the surface-level aesthetics and inspect the template’s bones. Are the class naming conventions clean and logical? Is the structure flexible enough to be adapted? A good template is a launchpad, not a cage. Once you have your base, the real creative work begins. Customizing it is where your unique vision comes to life.
Here’s a simple, actionable process to make a template your own:
- Global Styling: Start in the Style Guide. This is your command center for applying your brand’s fonts, colors, and button styles universally. One change here can update dozens of elements across the site.
- Content and Imagery: Systematically swap out all placeholder text and images with your client's assets. This step immediately transforms the template’s personality.
- Structural Customization: Now, you can rearrange, add, or delete entire sections to fit the project's unique narrative. This is where you break free from the original layout and inject your custom design flair.
By letting a template handle the repetitive setup, you free up your creative energy to focus on the high-impact details that truly matter. To find fresh ideas for custom sections or unique interactions, you can browse curated collections for inspiration to find new inspiration for your projects on our inspiration feed.
Bridge the Design-to-Development Gap with Plugins

While templates give you a structural head start, achieving pixel-perfect fidelity from your original design requires another layer of efficiency. This is where the Figma to Webflow plugin becomes a designer's best friend. Its core function is to translate your Figma designs, complete with auto-layout, components, and styles, directly into clean Webflow elements.
The main benefit is design fidelity. The plugin drastically minimizes the frustrating gap between your Figma prototype and the live site, which means fewer revision cycles and happier clients. However, it’s not magic. The plugin’s effectiveness depends entirely on how well you organize your Figma file. A messy design file will only create a messy Webflow project.
To ensure a seamless transfer, adopt these essential Figma habits:
- Embrace Auto Layout: Use auto layout for everything from buttons to entire page sections. This is the secret to ensuring your responsive designs translate correctly.
- Use Consistent Naming: Name your layers and styles logically. A layer named "Primary-Button" in Figma becomes a clean ".Primary-Button" class in Webflow.
- Build with Components: Turn repeating UI elements like cards and navigation bars into Figma components. This ensures consistency and makes updates effortless.
This discipline pays off. A tidy Figma file not only helps you speed up Webflow projects but also makes your initial design process more scalable and collaborative.
Manual Rebuild vs. Plugin-Assisted Workflow
| Task |
Manual Rebuild Method |
Plugin-Assisted Method |
| Layout & Structure |
Manually recreating divs, grids, and flexbox settings |
Automatically generated from Figma's Auto Layout |
| Styling |
Copying and pasting hex codes, font sizes, and spacing values one by one |
Styles are transferred directly from Figma styles |
| Component Creation |
Building each button, card, and nav link from scratch in Webflow |
Figma components are converted into Webflow elements |
| Revision Process |
Frequent back-and-forth to fix visual discrepancies |
Minimal revisions as design fidelity is high from the start |
This table illustrates the efficiency gains of using a Figma-to-Webflow plugin. The comparison highlights how automation reduces repetitive manual tasks, allowing designers to focus on functionality and interaction rather than pixel-perfect replication.
Keep Inspiration Organized While You Build
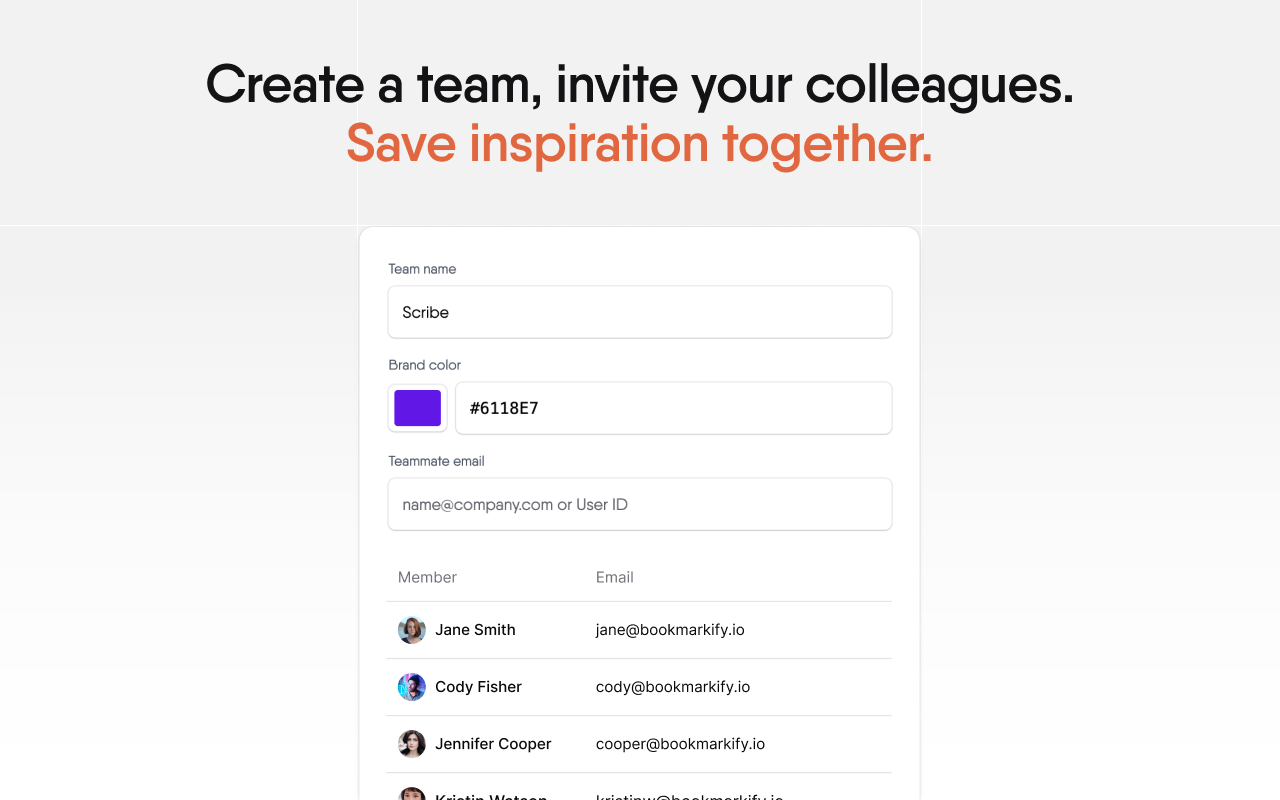
Picture this: you’re deep in a Webflow build, trying to perfect a pricing page. You remember seeing a brilliant layout last week, but where is it? Was it in one of your 30 open tabs, a random desktop screenshot, or buried in a notes app? This inspiration chaos is a huge creativity killer. This is exactly why we built Bookmarkify, one of the most effective creative workflow tools for designers.
Our browser extension lets you save websites, images, and UI elements directly into a visual library without ever leaving your workspace. Imagine you're building that pricing page. Instead of starting a new Google search, you open your Bookmarkify library, filter by your "pricing-tables" tag, and instantly see a grid of your curated examples. You can even use the mobile preview mode to check how each design handles responsiveness.
This organized approach transforms how you work. Tagging allows you to build a personal, searchable database of design patterns. Need ideas for hero sections? Filter by "hero." Looking for unique button styles? Filter by "buttons." It’s your private design encyclopedia, ready whenever you need it. This process doesn't just save time; it helps you make better design decisions by having your best references on hand.
Collaboration also gets a major boost. Instead of sending a messy list of links to a client, you can share a curated Bookmarkify collection with a single URL. This helps align everyone on the visual direction early on, speeding up approvals and preventing misunderstandings. And to keep your ideas from getting stale, you can check out the fresh websites and apps we curate on our Daily Inspiration feed to keep your creativity flowing.
Master Webflow’s Native Power Tools for Peak Efficiency

While external tools are fantastic, you can’t forget the powerful features already built into Webflow. Mastering these native tools is a critical part of any strategy to speed up Webflow projects. Combining Webflow’s power with smart organizational habits creates an unbeatable workflow.
The Visual CSS Editor
Webflow’s visual CSS editor is its superpower. It allows you to manipulate styles in real-time and see the results instantly. This is a world away from the slow, traditional cycle of writing code, saving the file, and refreshing the browser. It empowers you to experiment with layouts, typography, and interactions fluidly, turning design ideas into reality in seconds.
Reusable Components
The "design once, reuse everywhere" concept is a cornerstone of efficiency. Webflow’s components are perfect for elements like navbars, footers, and call-to-action sections. Build it once, turn it into a component, and then drop it onto any page. If you need to make a change, like adding a new link to the footer, you only have to edit the main component, and the update will apply across your entire site automatically.
The One-Stop Solution
One of Webflow's most overlooked advantages is its integrated hosting. This eliminates the friction of deployment. There’s no need to deal with FTP clients, server configurations, or security certificates. When your site is ready, you can go live with a single click. This seamless transition from building to publishing streamlines the final, and often most stressful, step of a project. For more Webflow design tips and strategies, you can explore other articles on our blog.
Build Better and Faster, Not Harder
An optimized workflow isn't about finding shortcuts; it's about adopting a professional methodology that elevates your role as a designer. By automating the mundane and organizing your resources, you free up precious mental energy for what truly matters: creative problem-solving and delivering an exceptional user experience for your clients.
We've covered four pillars to help you build better and faster: starting with a smart template, bridging the Figma-to-Webflow gap with a plugin, keeping your inspiration organized with Bookmarkify, and mastering Webflow’s powerful native tools. Which one will you try first?
Challenge yourself to implement just one of these techniques in your next project. The first step to any great project is getting organized. Get your creative assets in order from the start and see how much smoother your process becomes. You can explore the tool and start building your inspiration library by trying Bookmarkify today.


