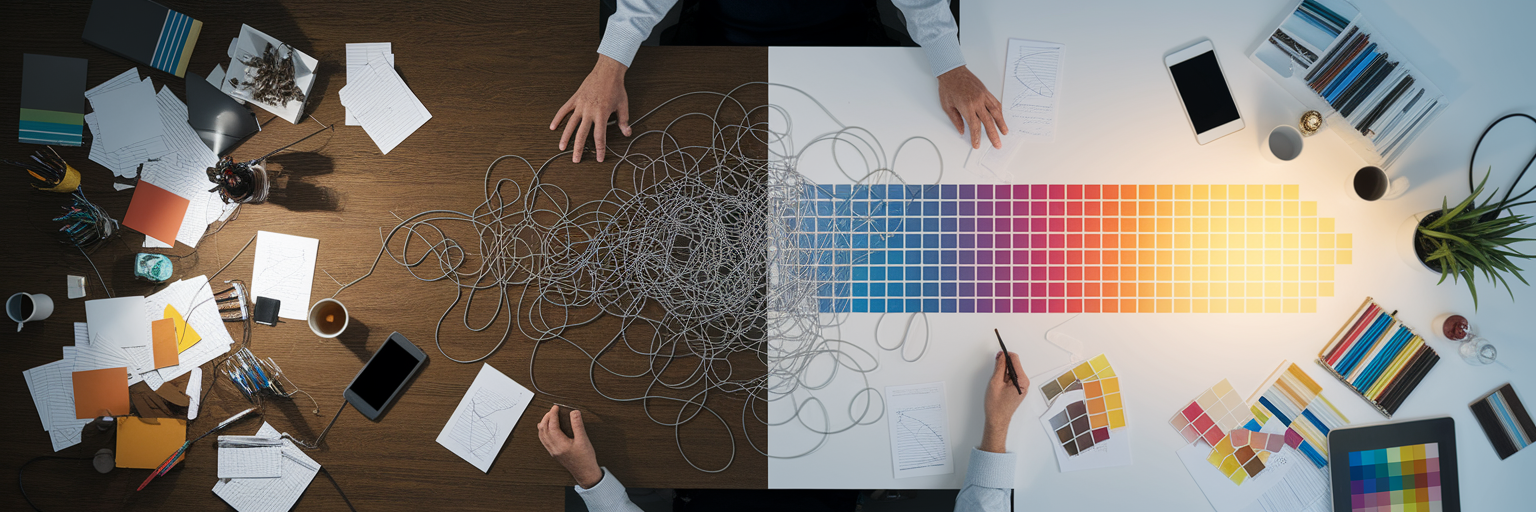
We’ve all been there. You have a brilliant idea for a project, but when you try to explain it, the vision gets lost in translation. This is where a moodboard becomes more than just a collage of pretty pictures. The first step in how to build a moodboard that truly works is to treat it as a strategic blueprint, not a scrapbook. The most common mistake is jumping straight into collecting images without a clear direction.
A powerful moodboard starts with a documented goal. It’s the visual anchor that keeps your project on track, aligns your team, and gets clients excited. Before you save a single image, you need to define what you want to communicate.
Start with a Clear Vision, Not Just Vague Ideas
Before you even think about visuals, you need to establish the core feeling of the project. This initial clarity acts as a filter, ensuring every image you select serves a purpose. Without it, you risk creating a collection of visuals that are beautiful but ultimately disconnected from the project's goals.
Establish a Core Concept
Think of your core concept as the project's personality. A moodboard for a minimalist tech startup in Austin will feel completely different from one for a bohemian coffee shop in Portland. The startup’s board might feature clean lines, cool tones, and futuristic textures, while the coffee shop’s would lean into warm, earthy colors, handcrafted details, and cozy imagery. Defining this concept first prevents your board from becoming an unfocused mess.
Translate Goals into Keywords
Once you have a core concept, translate those abstract feelings into a searchable vocabulary. Are you aiming for "serene" or "energetic"? "Nostalgic" or "futuristic"? These keywords become your guideposts when searching for inspiration. This simple exercise transforms a vague idea into a concrete search strategy, making the entire process more efficient and focused.
Translating Project Vision into Searchable Keywords
| Project Type |
Core Goal |
Descriptive Keywords |
| Minimalist Tech Startup |
Convey efficiency and innovation |
Clean, futuristic, streamlined, sharp, intuitive |
| Bohemian Coffee Shop |
Create a warm, community feel |
Earthy, rustic, handcrafted, cozy, authentic |
| Luxury Skincare Brand |
Evoke premium quality and trust |
Elegant, serene, clinical, radiant, pure |
| Indie Music Festival |
Generate excitement and energy |
Vibrant, dynamic, nostalgic, bold, eclectic |
Gather Your Visual Inspiration Without the Digital Clutter

With your keywords in hand, it’s time to start gathering visuals. But this phase can quickly lead to a desktop folder overflowing with randomly named files and lost links. The key is to collect inspiration systematically, creating a library of ideas you can actually use.
Cast a Wide Net for Visuals
Look beyond the usual platforms. While Pinterest is a great starting point, the most unique ideas often come from unexpected places. As Adobe's guide on mood boards explains, these collections are a visual language made of images, colors, fonts, and textures that work together. To build a rich vocabulary, explore diverse sources:
- Architectural photography sites for structure and light
- Vintage magazine archives for typography and color palettes
- Film stills and cinematography blogs for mood and storytelling
- Nature and landscape photography for organic textures
- Art gallery online collections for abstract concepts
Use Bookmarks as Your Creative Hub
Instead of downloading every image, use bookmarks as your central creative hub. Using dedicated visual inspiration tools like Bookmarkify allows you to save links with descriptive tags like "color-palette" or "project-x-typography." This keeps your workflow clean, preserves your sources, and makes your inspiration library searchable. This method is perfect for using bookmarks for design, as it keeps your ideas organized and accessible without cluttering your hard drive. For a constant stream of high-quality visuals, you can explore a dedicated feed of creative work to keep your ideas fresh, like the one found on our inspiration page.
Refine Your Collection into a Cohesive Story
Now you have a folder full of inspiration. The next step is curation, the art of editing your collection down to a powerful, focused narrative. This is where you move from gathering to storytelling, and the principle of "less is more" is your best friend. The goal is to create a board where every element feels intentional and contributes to the core message.
Follow these steps to transform your raw inspiration into a compelling visual story:
- Identify a Dominant Theme: Spread out all your visuals, either physically or on a digital canvas. Look for recurring patterns. Are there common shapes, lighting styles, or compositions? Find the project's visual center of gravity and build around it.
- Build a Harmonious Color Palette: Pull three to five core colors directly from your strongest images. Identify one or two dominant shades that will set the overall tone, and then select a few accent colors to create visual interest and hierarchy.
- Curate for Flow and Relationship: Arrange your final selections so they "speak" to each other. Place a texture next to a product shot, or a font sample next to a photo that shares a similar mood. This creates a visual conversation that tells a richer story.
- Perform the 'Gut Check' Edit: Step away for an hour, then come back and ask yourself: "Does this board clearly communicate my initial keywords?" Be ruthless. If an image is beautiful but dilutes the message, remove it. This refinement process is where your creative moodboard ideas solidify into a clear concept.
As collaborative platforms like Miro emphasize, refining visuals iteratively helps to better communicate the core concept. For more guides and tips on improving your design workflow, our blog offers a range of articles for creative professionals.
Present Your Moodboard to Get Client Buy-In

A great moodboard can still fall flat without a great presentation. The final step is to communicate its value to clients, framing it as a strategic document rather than just a collection of your personal preferences. Your goal is to guide them through your thought process and make them feel like a partner in the creative journey.
When you present, avoid saying, "Here are some ideas I like." Instead, introduce the moodboard as the visual translation of the project's strategy. Use these moodboard presentation tips to build confidence and alignment. For example, you could say, "This image of a misty forest conveys the sense of calm and discovery we want for the app's user experience," connecting each visual choice back to a project goal.
Use annotations directly on the board to explain why you chose a specific texture, font, or color. This guides the client's eye and prevents misinterpretation. As highlighted in LinkedIn's professional guides, walking a client through your moodboard with a clear narrative is essential for ensuring everyone is aligned. End by asking collaborative questions like, "Which of these directions feels most aligned with your brand's voice?" This invites constructive feedback and turns the presentation into a productive conversation, leading to faster and more enthusiastic buy-in.
Turn Inspiration into Action with a Clear Next Step
Once your moodboard is approved, the final step is to make it actionable. Bridge the gap between inspiration and execution by distilling your board into a practical, one-page style guide. List the final hex codes, font names, and photography guidelines so the entire team has a clear reference point to work from.
This is where an organized system truly pays off. Having all your inspiration saved and tagged is invaluable when a project evolves or you need to revisit ideas. Your bookmark library becomes a living archive of creative solutions. This streamlined approach to using bookmarks for design ensures that your creative energy is spent on creating, not searching for lost files.
Now that you know how to build a moodboard that drives results, streamline the very first step of the process. Start organizing your creative inspiration today by trying Bookmarkify and see how a well-organized bookmarking system can transform your workflow.

