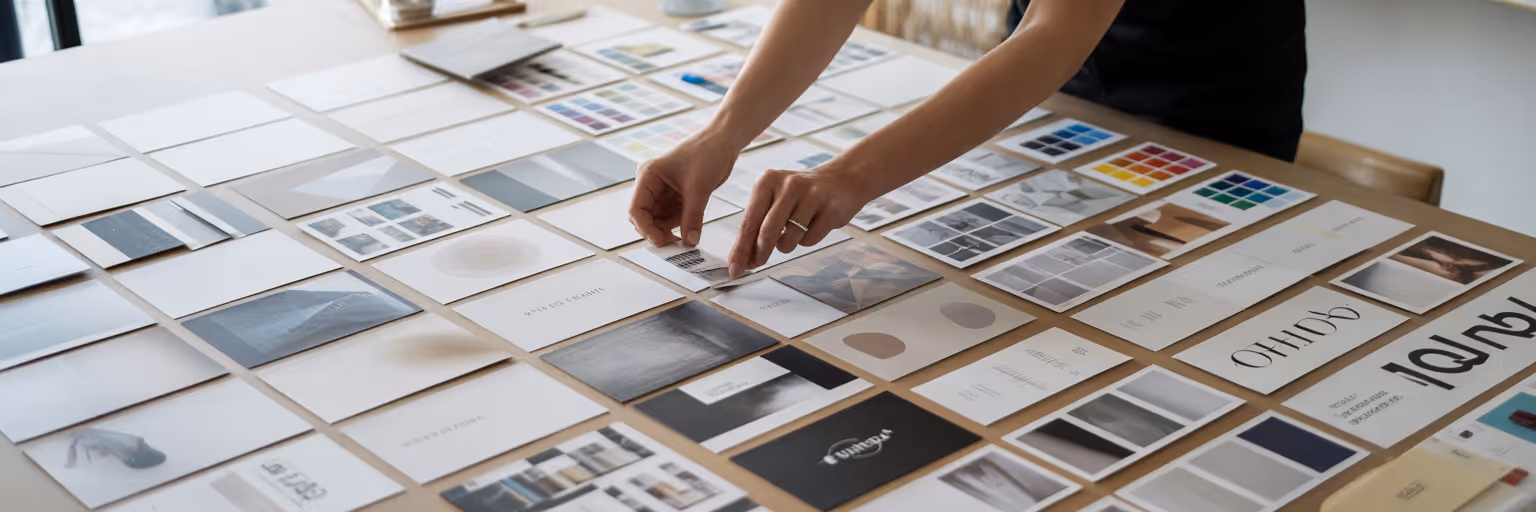
You’ve been there. You present a carefully crafted moodboard, a beautiful collage of images meant to capture a project's soul. But instead of excitement, you get a hesitant silence. The client says they "like it," but their feedback is vague, and you can’t answer their "what if" questions on the spot. This is the creative dead-end of the static moodboard.
In 2026, the standard for a moodboard for client presentation has moved beyond a flat image. It’s no longer a one-way show-and-tell but an interactive, searchable visual database. This approach transforms your presentation into a dynamic, collaborative conversation. You achieve faster client alignment, demonstrate strategic thinking beyond just aesthetics, and present with a level of professionalism that builds immediate trust. This guide will show you exactly how to build these next-generation moodboards.
Beyond Static Collages: The New Standard for Moodboards
We all know the feeling of presenting a flat moodboard collage, only to be met with a client’s hesitant silence or confusing feedback. It’s a creative dead-end when you can’t answer "what if" questions on the spot because your visuals are locked in place. That old method often creates more questions than it answers, leaving both you and the client feeling uncertain about the next steps.
The new standard is a fundamental shift from a static image collection to an interactive, searchable visual database. Think of it less like a poster and more like a private, curated search engine for your project. This approach transforms a one-way presentation into a dynamic, collaborative conversation. It’s about building a flexible tool that adapts to feedback in real time. The core benefits are clear: you achieve faster client alignment, demonstrate strategic thinking that goes deeper than aesthetics, and present with unmatched professionalism. This is how you move from showing pretty pictures to building a shared vision.
Setting the Strategic Foundation First
A powerful moodboard doesn’t start with a frantic image hunt. It begins with strategy. Before you save a single pixel, you need to dive deep into the client’s brief, their brand values, and the audience they want to reach. This groundwork is the blueprint that ensures every visual element you choose serves a distinct purpose, contributing to a cohesive and persuasive client narrative.
Define Your Guiding Keywords
The first step is to distill your understanding into 3-5 core "feeling words." Are you aiming for something Energetic and Bold, or Trustworthy and Serene? These keywords become your compass, guiding every decision you make during the visual curation process. They keep you focused and prevent the collection from drifting into beautiful but irrelevant territory. If you need a spark, browsing curated collections can help you discover themes and define these initial directions. For example, exploring our daily inspiration feed can expose you to new styles that help solidify your keywords.
Establish a Singular Objective
Next, define the moodboard's primary goal. What specific question does it need to answer? Is its purpose to nail down a color palette, define a typographic system, or establish an overall UI feel for a new app? A focused objective is critical. It prevents your moodboard from becoming an aimless collection of images that, while attractive, fails to move the project forward. A clear goal ensures your presentation has a point, making it easier for the client to understand and approve.
Curating Your Visual Library with Precision
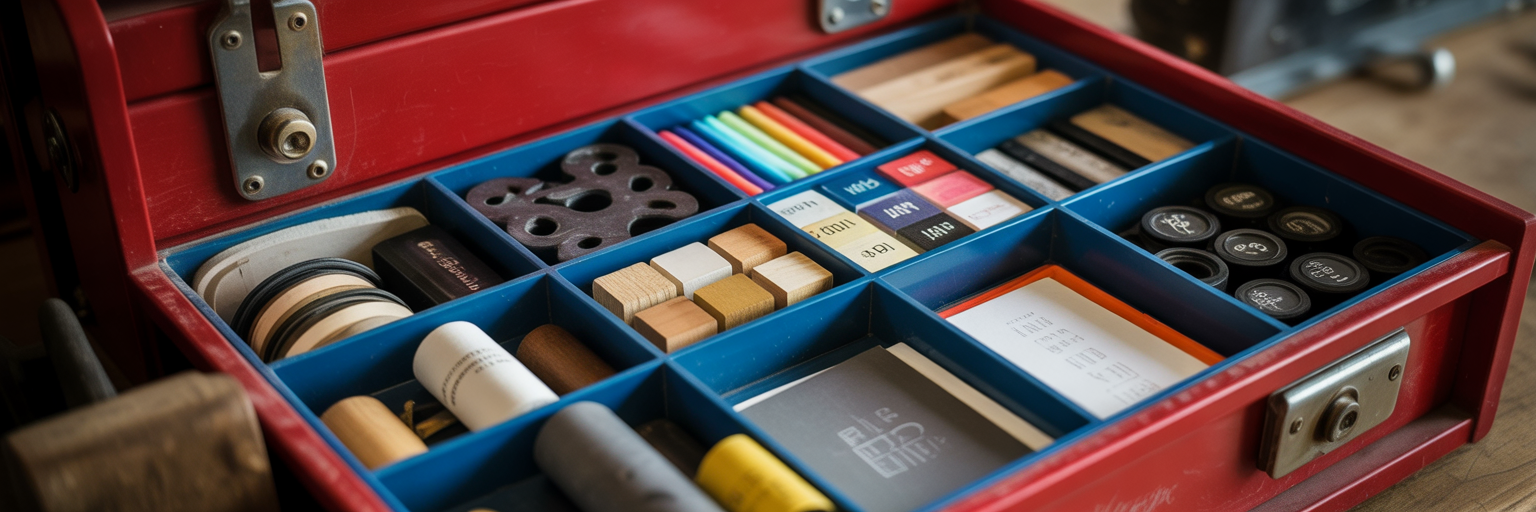
Let’s address the creative chaos we all know: inspiration scattered across desktop screenshots, messy browser folders, and dozens of open tabs. This disorganization kills momentum and makes finding that one perfect example feel impossible. The solution is a centralized, visual-first collection system. Instead of saving text-based links you can’t remember, you save visual cards that make recognition instant. This is where visual bookmarking for designers becomes essential.
This process isn’t about passive saving; it’s about active hunting with a clear purpose. Tools like Bookmarkify are built for this exact workflow, allowing you to build a library with intent. Here’s how to approach it systematically:
- Hunt for typography: Search for specific examples of fonts and type treatments that match your guiding keywords.
- Collect color palettes: Save palettes from websites, photography, and digital art that evoke the desired mood.
- Save UI elements: Capture layout examples, button styles, and interaction patterns that align with the project's objective.
- Capture textures and styles: Gather photographic styles, patterns, and textures that contribute to the overall feel.
The key to efficiency is organizing at the point of capture. As you save each asset, tag it immediately with relevant keywords like #typography, #color, or #project-x. This simple habit is how you organize design inspiration effectively, creating a pre-sorted library that makes the final assembly process incredibly fast.
Assembling a Cohesive Visual Narrative
With a well-organized library, you can now move from collecting assets to assembling a structured moodboard. This is where you use modern design presentation tools like Miro or Figma to create your digital canvas. The goal is to arrange your visuals into a story that is both compelling and easy for the client to understand.
Use Visual Hierarchy to Guide the Eye
Not all inspiration is created equal. Use size and placement to give more weight to your primary concepts. A large, central hero image can establish the main theme, while smaller texture swatches or UI details can act as supporting elements. This guides the client’s eye and helps them focus on the most important ideas first.
Create Thematic Zones for Clarity
Avoid a random collage. Group elements by theme to make the board digestible. Create a dedicated section for typography, another for the color palette, and a third for photography or illustration style. This structure brings order to your ideas and allows for a more focused conversation around each component of the design system.
Add Annotations to Explain the 'Why'
This is the step that transforms a pretty collage into a strategic document. Add short, clear text descriptions to explain why an image was chosen. A simple note like "This UI pattern feels intuitive and clean" or "This color combination conveys trust" provides crucial context. As highlighted in Adobe's guide to mood boards, this narrative element is what makes your vision truly understood by others. It shows the client the thinking behind your choices, building confidence in your process.
Making Your Moodboard Instantly Searchable
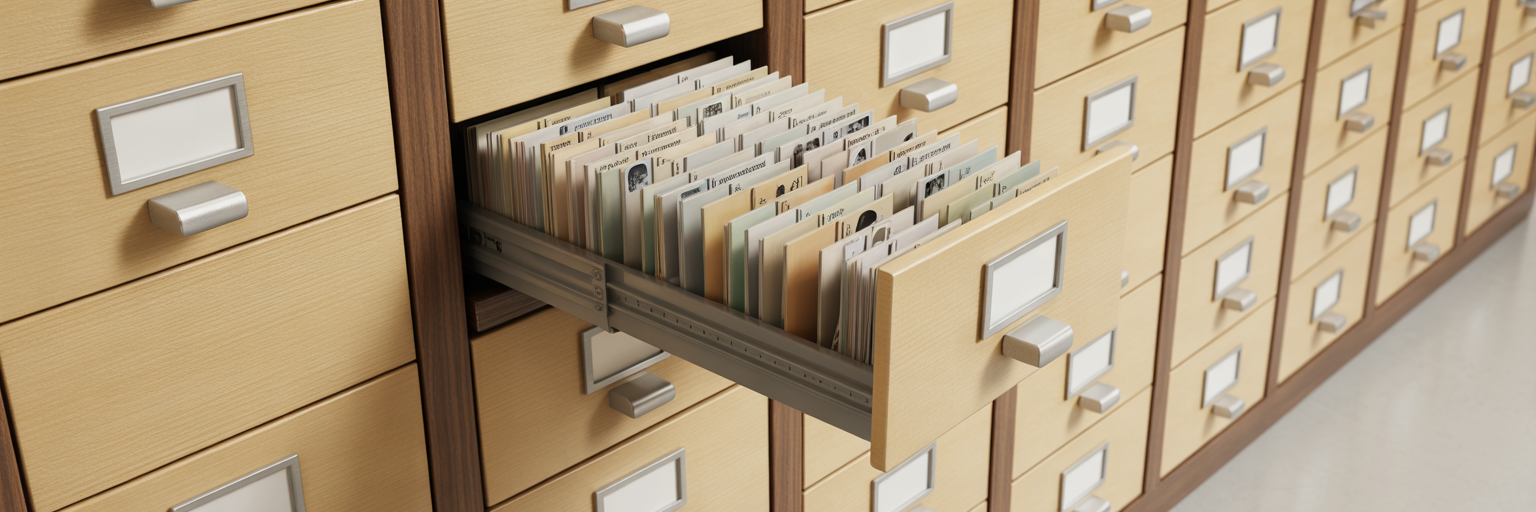
Here is the step that separates a good moodboard from a great one. You need to create a searchable moodboard that serves as a flexible tool for conversation, not a static image you can't change. This is achieved by implementing a consistent and thoughtful tagging system directly within your moodboarding platform, using the strategic keywords you defined earlier as your foundation.
Imagine this scenario: your client loves the overall feel but questions the color palette. Instead of fumbling or promising to follow up, you simply filter the board to show only assets tagged with #color. This allows for a focused, productive discussion right there in the meeting. This searchability also extends the moodboard's lifespan, turning it into a living project library that the entire team can reference. It becomes a single source of truth for the project's visual direction, easily accessible through tools that support team collaboration.
A consistent tagging structure is what makes this possible. It allows you to instantly filter your board during a presentation, turning feedback into a collaborative exercise.
| Category |
Example Tags |
Purpose in a Presentation |
| Asset Type |
#ui, #photo, #typography, #icon |
Quickly isolate specific design elements for discussion. |
| Style/Mood |
#minimal, #bold, #organic, #playful |
Filter to show examples that align with a client's 'feeling word' feedback. |
| Color |
#warm-tones, #monochromatic, #accent-blue |
Focus the conversation on the color palette without other distractions. |
| Project Component |
#homepage, #dashboard, #onboarding |
Organize inspiration relevant to specific parts of the project. |
Presenting with Confidence and Agility
With your searchable moodboard built, the focus shifts to the presentation itself. The key is to avoid simply sending a link and hoping for the best. Instead, you must actively guide the client through it as a visual story, using its interactive features to your advantage. This turns the meeting from a passive review into an active working session.
Follow this flow for a smooth and effective presentation:
- Start with the big picture: Begin by reiterating the project goals and the core strategic keywords. This grounds the conversation and reminds everyone of the shared objective.
- Walk through the thematic zones: Guide the client through each section—typography, color, photography—explaining the rationale behind your choices and how they connect back to the keywords.
- Use search as a collaborative tool: This is your moment to shine. If a client says, "I'd like to see more 'energetic' options," you can say, "Great, let's filter for that tag and explore them together." As Miro's guide on mood boards suggests, this collaborative aspect is crucial for gaining buy-in.
- Capture feedback directly on the board: Encourage the use of comments or virtual sticky notes to capture decisions in real time. This creates a clear record of alignment and dramatically reduces the chance of future misunderstandings.
From Moodboard to Project Blueprint

By following this process, the moodboard evolves from a static inspiration piece into a dynamic, searchable project blueprint. This modern approach saves countless hours, reduces frustrating revision cycles, and builds stronger, more collaborative client relationships. A successful moodboard in 2026 is built on a foundation of strategic collection and intelligent organization. The presentation is simply the final, confident step in a well-executed process.
Stop letting great inspiration slip through your fingers. Start building your own searchable visual library today. For more tips on optimizing your creative workflow, you can explore other articles on our blog. Ready to transform your client presentations? Start building your searchable visual library with Bookmarkify.