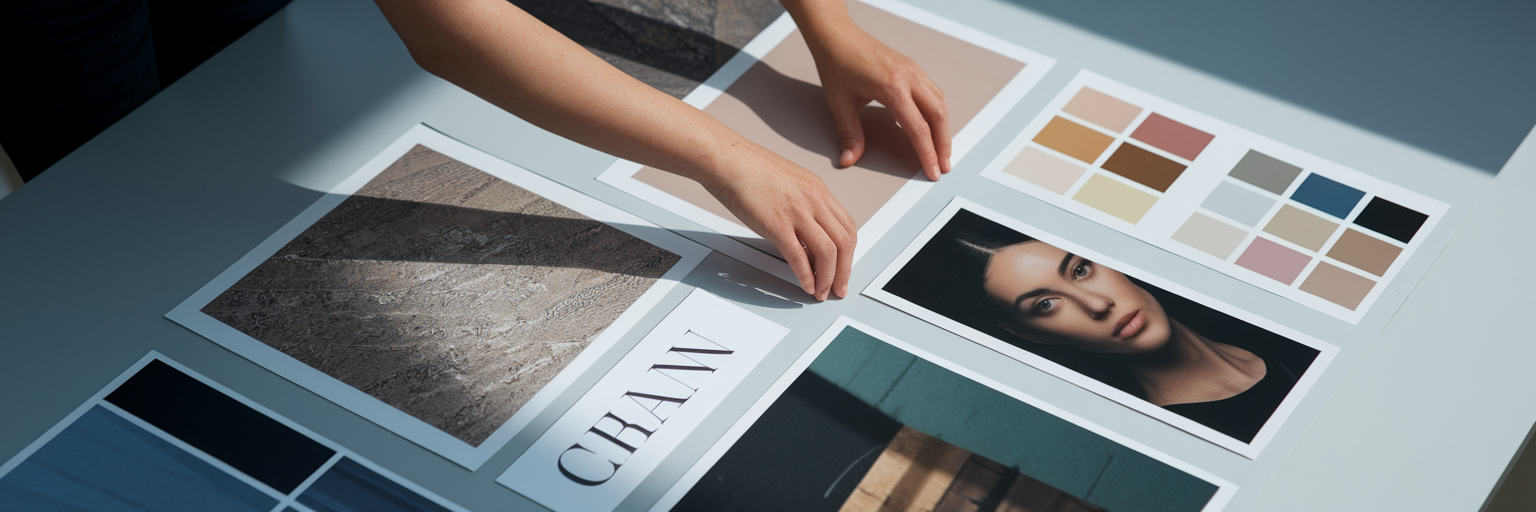
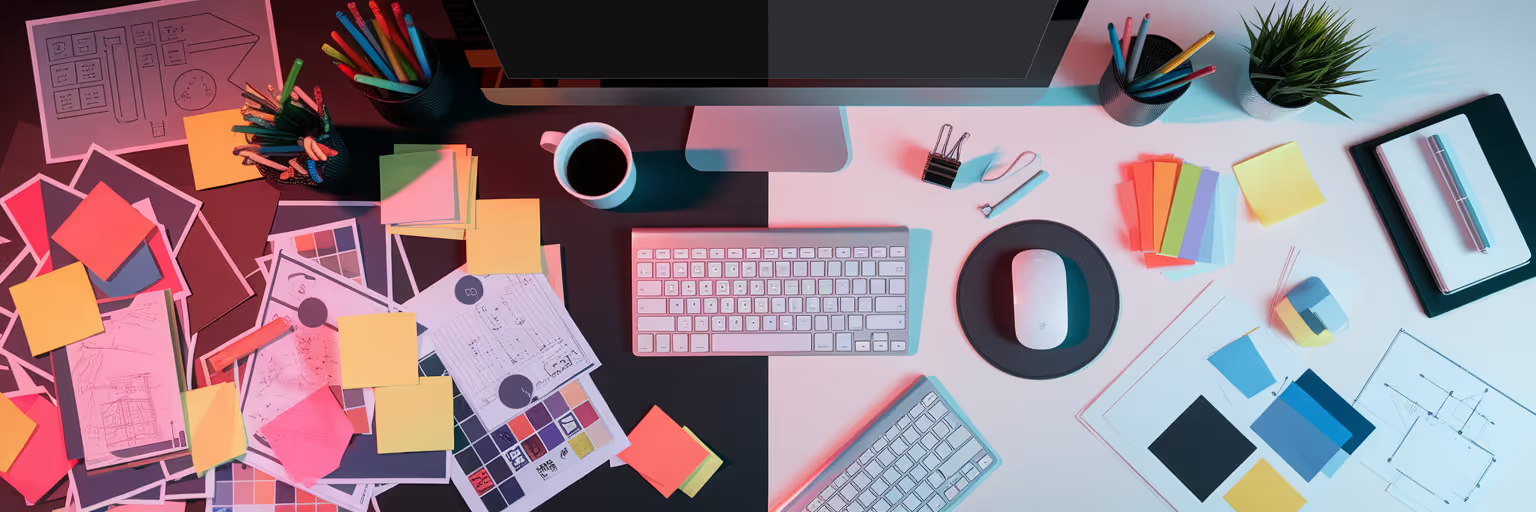
We’ve all been there. You unveil a mood board you’ve poured your heart into, a beautiful collection of textures, colors, and typography. You wait for the client’s eyes to light up. Instead, you get a polite nod and a hesitant, “So… are we using that exact photo?” This moment of disconnect is a common frustration when presenting mood boards to clients.
Bridging the Gap Between Creative Vision and Client Understanding
This gap between your creative vision and their understanding is not anyone's fault. It’s the classic 'curse of knowledge' in action. As creatives, we speak a visual language fluently. We see 'warm and approachable' in a sun-drenched photo, but a client might just see a picture of a coffee shop. The challenge is learning how to explain design concepts without a shared visual vocabulary.
A mood board is not just a collage of pretty things. It is a strategic alignment tool. Its primary job is to get everyone to agree on the project's 'feel' before a single pixel is pushed. Getting this right saves countless hours and avoids those painful, costly revisions down the road.
This guide provides a framework for presenting mood boards that bridge that gap. We will focus on how to build a clear narrative, guide the conversation, and turn client feedback into a shared vision. It all starts with preparing a board that is designed to be understood.
Preparing a Mood Board That Tells a Clear Story

A successful presentation begins long before you enter the meeting room. It starts with building a mood board that is client-ready from the ground up. This is not about diluting your vision, but about packaging it with clarity and intention. Effective visual communication for designers is about translation, not just creation.
Curate with Purpose, Not Just Passion
It is tempting to throw in every image that inspires you, but a massive collection can overwhelm a client. Instead, be a ruthless editor. Aim for a tight selection of 15–20 core visuals that directly support the project's goals. Each image should have a specific job to do, contributing to the overall narrative you are building.
Structure Your Board Thematically
Instead of a random jumble of pictures, group your images into clear, thematic sections. Think of it as creating chapters in a story. Common sections include 'Color & Texture,' 'Typography & Voice,' and 'Photography Style.' This structure turns a chaotic collage into a digestible journey, allowing the client to process one concept at a time.
Annotate to Add Context
Never assume an image speaks for itself. Your client does not have your trained eye, so you need to connect the dots for them. Add short, clear notes to key visuals explaining *why* you chose them. A simple note like, "This font feels modern yet trustworthy" or "This image captures the warm, approachable feel for brand photography" provides the crucial context they need.
This is where a dedicated tool makes a world of difference. Using a feature like Bookmarkify’s Moodboard View instantly makes your presentation look more professional and deliberate than a messy folder of JPEGs. Sourcing those perfect visuals is half the battle. To keep your creative well full, tapping into a resource like our Daily Inspiration feed gives you a fresh stream of high-quality ideas every day.
From Scattered Collection to Strategic Story
| Element |
Scattered Approach (What to Avoid) |
Story-Driven Approach (Best Practice) |
| Image Selection |
Including 50+ images you like |
Curating 15-20 focused, high-impact visuals |
| Layout |
A random collage of unorganized pictures |
Thematic groups (e.g., Color, Typography, Mood) |
| Context |
Assuming the images speak for themselves |
Adding annotations to explain the 'why' behind key choices |
| Presentation Tool |
A messy folder or a chaotic Pinterest board |
A clean, professional view like a dedicated moodboard tool |
This table illustrates the difference between an unfocused mood board and a strategically prepared one. The story-driven approach is designed to guide a non-design client's understanding, not overwhelm them.
Setting the Stage for a Productive Client Presentation
With your story-driven mood board ready, the next step is to prepare the room for a productive conversation. How you frame the client presentation mood board is just as important as the board itself. Follow these steps to set expectations and empower your client to give you the best possible feedback.
- Frame the Conversation: Before showing anything, explain what a mood board is. As industry leaders like the Nielsen Norman Group highlight, their purpose is to communicate brand identity and visual direction early on. Use an analogy: "Think of this as our blueprint for the project's 'vibe,' not the final design."
- Revisit the 'Why': Connect the presentation directly to the client's goals. "Remember we talked about building trust? I have selected visuals that evoke a sense of stability and warmth to support that goal." This reminds them that your creative choices are rooted in business strategy.
- Set the Rules for Feedback: Guide them on how to give useful input. Ask for gut reactions and emotional responses. Say something like, "I want to know how these images make you *feel*. Don't worry about critiquing the design itself. Words like 'energetic,' 'calm,' 'premium,' or 'friendly' are perfect."
This approach transforms the presentation from a test that you must pass into a collaborative workshop where you and the client build the vision together.
Guiding the Client Through Your Visual Narrative

Now it is time to present. Do not just click through images in silence. You are the narrator of this visual story. Your job is to guide the client through the world you have built, connecting each element back to the project's core objectives.
Start with the big picture. "Overall, the feeling we are aiming for is clean, optimistic, and human." Then, zoom into the details, walking them through each thematic section you prepared. Use emotive and sensory language to translate design jargon into concepts they can feel. Instead of saying, "We are using a geometric sans-serif," try, "This typography feels clean, modern, and very readable, which makes the brand feel approachable and straightforward."
Highlight three or four pivotal images and explain their strategic role. "This photo here, with the natural light and candid interaction, is a great example of the authentic photography style we discussed. It feels genuine, not staged." This shows your thinking is deliberate and strategic.
A great presentation is also a flexible conversation. With a tool like Bookmarkify, you can adapt on the fly. For instance, if a client is unsure about a style, you can say, "That is a great point. Let's quickly switch to a grid view to compare these two photography approaches side-by-side." This turns you from a presenter into a collaborative problem-solver. Building a strong visual narrative starts with having a rich library of references. You can explore thousands of curated examples on our inspiration page to see how other top designers tell their stories.
Gathering Actionable Feedback and Securing Buy-In
The goal of the meeting is to leave with a clear direction. The right questions are essential for getting client feedback on design that you can actually use. This is where you close the loop and secure the buy-in needed to move forward with confidence.
- Ask feeling-focused questions: Avoid the dead-end "Do you like it?". Instead, ask, "Which of these options feels most aligned with your brand's personality?" or "What words come to mind when you look at this color palette?"
- Use the 'This, Not That' method: If a client is struggling to articulate what they want, show them two contrasting images. "Are we leaning more towards this bright, energetic style or this more muted, sophisticated one?" This helps them make a clear choice.
- Clarify vague feedback: When you hear "It feels a bit busy," dig deeper. Ask, "That is helpful, thank you. When you say busy, are you referring to the number of elements, the bright colors, or the texture in the background?"
At the end of the meeting, summarize the key takeaways and agreed-upon direction. "So, we have agreed on a warm color palette, classic typography, and authentic photography. I will update the board to reflect that." Sharing a link to the final, approved mood board using Bookmarkify creates a single source of truth for the entire team. It is the perfect way to keep everyone aligned as you move into the design phase.
Ready to turn your mood board presentations from confusing to compelling? Try Bookmarkify to streamline your entire creative workflow. For more tips, check out the other guides on our blog!


